Investing in a louvred pergola or awning is one of the most rewarding things you can do for your home. The result is a precision-engineered outdoor space that looks as though it was always meant to be there, and it has a way of becoming the most used room in the house. But the result is only as good as the process behind it.
At Aluvers, we've refined our installation process to be as considered and transparent as the structures we build. Here's what to expect from the moment you walk into our showroom to the moment you hand your guests a drink under your new roof.
Phase 1: Consultation
Every project starts with a conversation. We invite all prospective clients to visit our showroom in Dandenong, where you can see our louvred systems operating in person. Watch the blades move, run your hand along the powder-coated aluminium, and hear just how quietly the motors run. It's the kind of firsthand experience that turns an idea into a clear vision.
During this consultation, we get to know how you intend to use the space. Are you extending a living area into an alfresco dining zone? Creating a sheltered retreat around a pool? Building an outdoor kitchen that can handle a Melbourne summer and keep going through winter? We also look at your site's specific conditions, including aspect, exposure, and existing architecture, so the design serves your home as much as it serves your lifestyle.
Phase 2: Design and engineering
This is where the work begins in earnest. Our design team develops a custom louvre solution around your home's existing architecture, proportions, and style. We don't offer one-size-fits-all solutions. Every structure is drawn, engineered, and specified for a particular site and a particular brief.
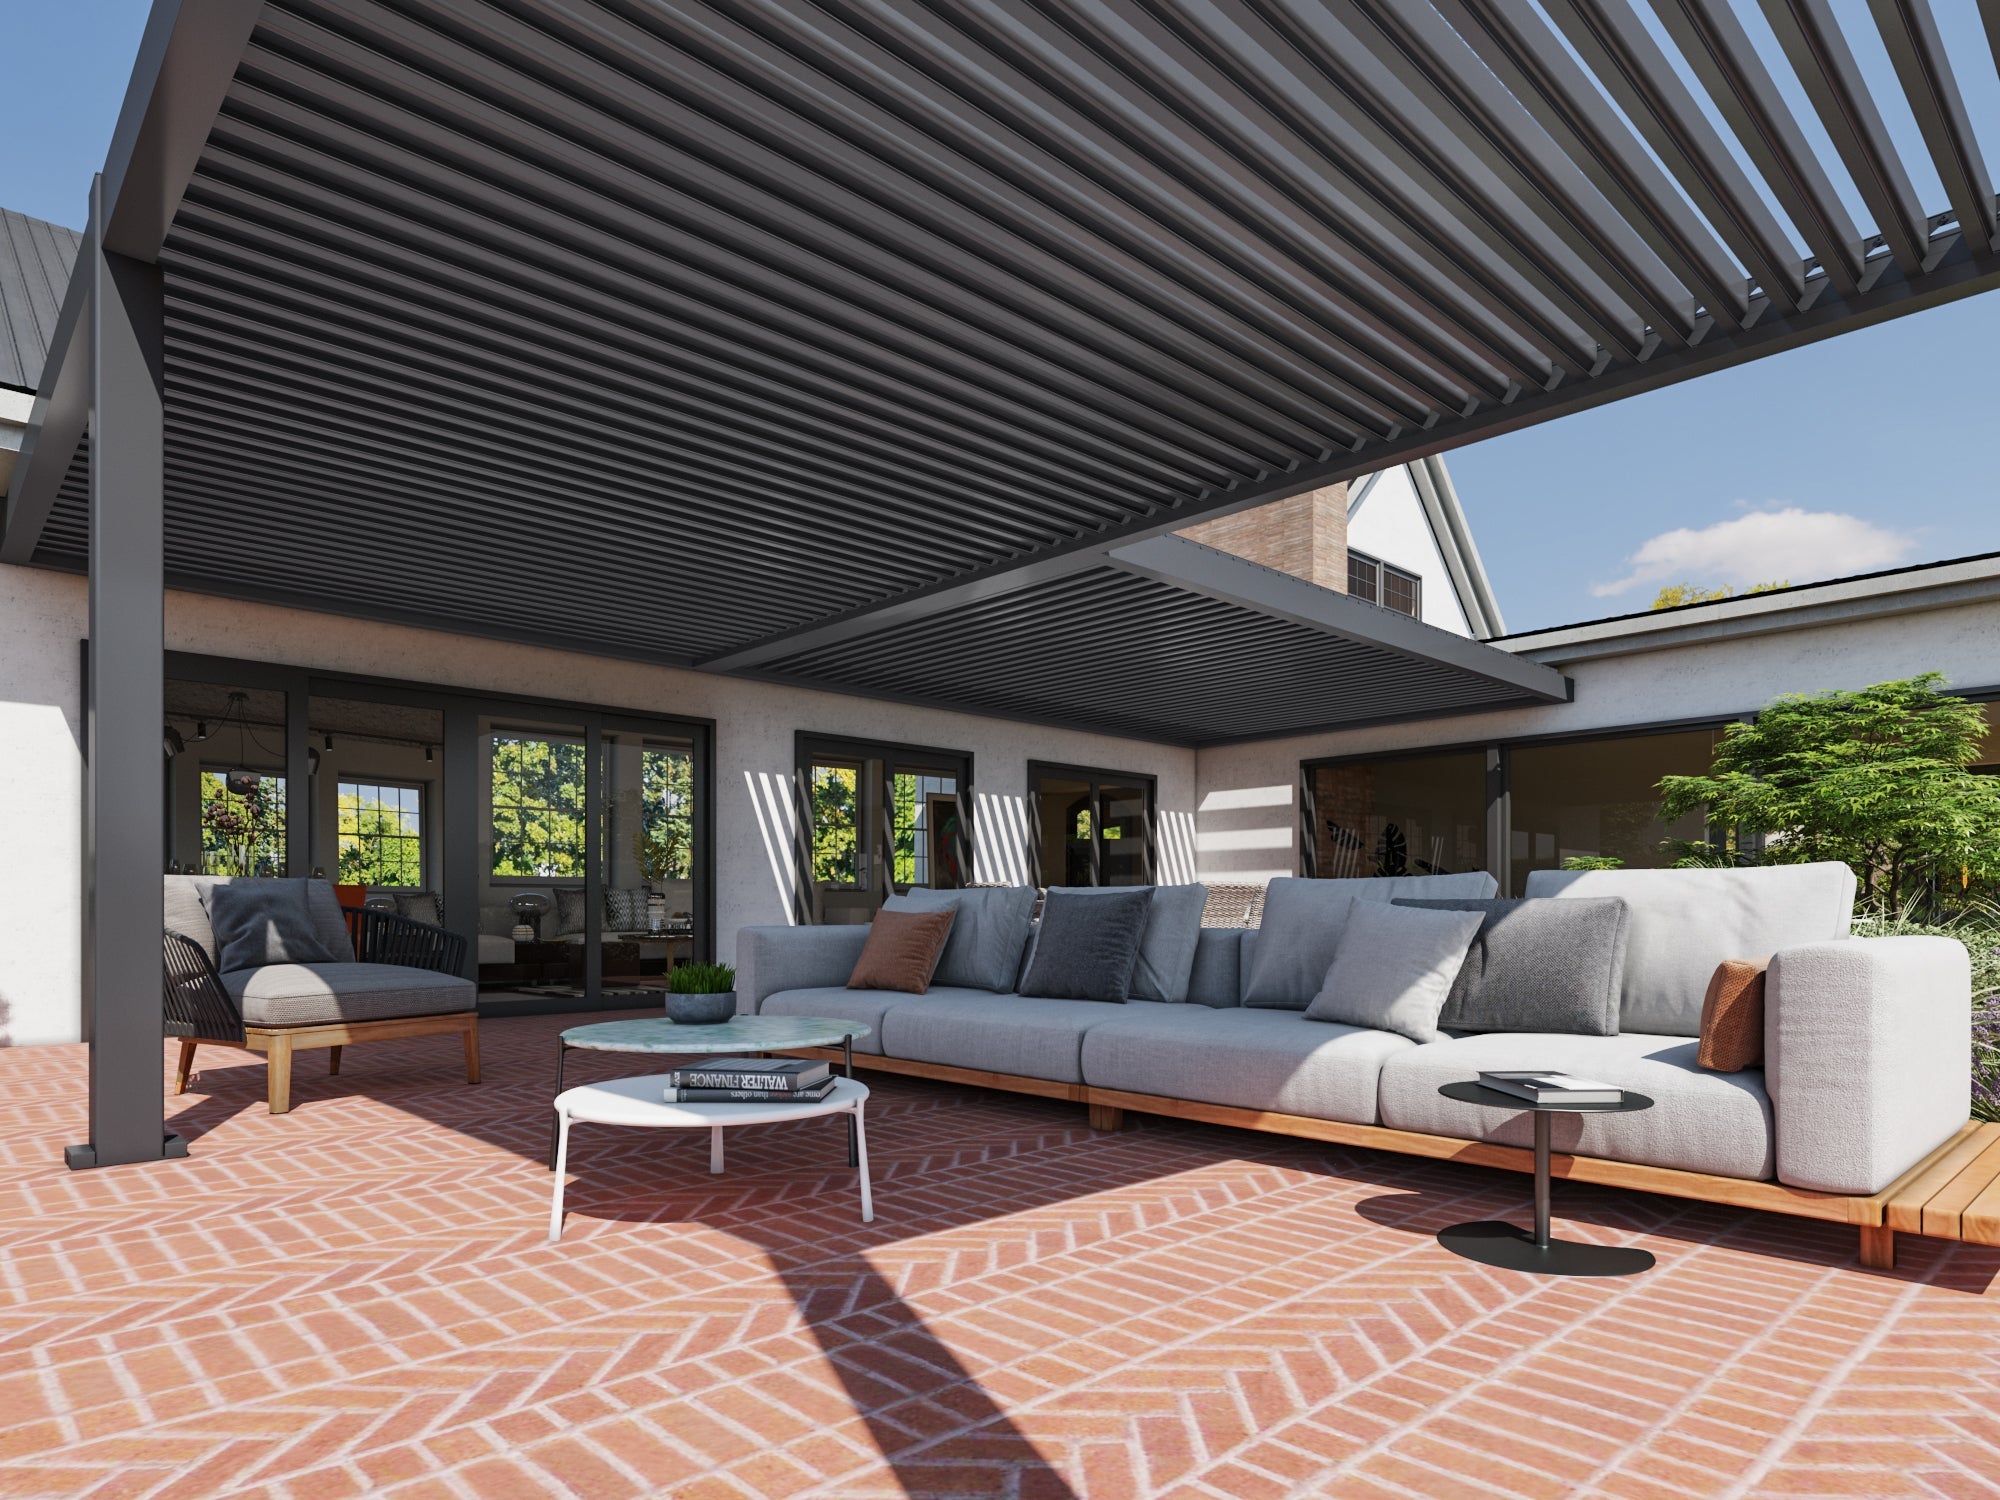
You'll receive detailed renders that show exactly how the structure will sit against your home, including heights, spans, blade profiles, and colour finishes, so everything is confirmed before a single component is fabricated. It's also at this stage that integrated accessories are designed into the structure. Concealed wiring channels for LED lighting, mounting points for heaters or fans, and any smart home connections are all planned in advance rather than retrofitted later.
Phase 3: Permits and approvals
Bringing a considered design to life involves a layer of technical and administrative requirements that most homeowners would rather not deal with, and with Aluvers, they don't have to. We act as your expert interpreters, converting your design into the compliant documentation and exact specifications that local councils require.
Whether it's a building permit, wind load certification, or site-specific engineering sign-off, we manage the process behind the scenes. Your focus stays on the vision. We handle the acronyms.
Phase 4: Fabrication
With approvals confirmed, your project moves to our workshop. Every component is precision-cut and finished to the exact specifications of your design. Nothing is pulled from a shelf; everything is made for your build. This level of preparation is what makes the on-site installation clean and efficient. By the time our team arrives at your property, every piece has been engineered to fit.
For clients who have opted for a kit louvred roof system, the same quality of material and finish applies. Our kits are built to the same standard as our fully custom structures. The difference is in the design process, not the product.
Phase 5: Installation
This is the part most clients look forward to, and it tends to move quickly. Because the preparation is thorough, our time on site is focused and minimally disruptive.
The installation follows a logical sequence. The primary support posts and perimeter beams go in first, forming the structural foundation engineered to handle Melbourne's most demanding conditions. The louvre blades follow, each one carefully integrated into the drive system. Motorisation and wiring come next, with all cabling concealed within the frame for a clean, uncluttered finish. Any accessories, including wall panels, heaters, Ziptrak® blinds, and sensors, are fitted and tested as part of the same process.
Phase 6: Calibration and handover
A louvred system isn't finished until it works flawlessly. Our team runs a thorough calibration process, setting motor limits, testing the interlocking blade seal, and confirming that rain sensors respond correctly. Every detail is checked before we consider the installation complete.
At handover, we walk you through the operation of your new space. How to use the remote. How to set up the app. What to expect from the system over time, and how to keep it looking its best with minimal effort. With powder-coated aluminium, that amounts to little more than an occasional wash.
A few common questions about our process
Can I install a louvred system myself?
‘We offer kit options for experienced builders who are comfortable working with the system. For fully custom designs, professional installation is strongly recommended, both for the precision the motorisation requires and to protect the integrity of your warranty.
How long does installation take?
The on-site build typically takes a few days. The longer lead time sits in the design, engineering, and fabrication phases, and that preparation is exactly what makes the installation itself go smoothly.
How much maintenance is involved?
Very little. Premium powder-coated aluminium doesn't rot, warp, or need periodic treatment. A wash with soapy water once or twice a year is generally all that's required, even in coastal conditions.
The Aluvers commitment
From the first visit to our Dandenong showroom to the evening you host under your new roof, we're with you at every stage. We take the same pride in the process as we do in the finished structure, because a louvred pergola or awning built to last deserves an installation experience that reflects that.
If you're ready to get started, we'd love to hear about your vision.


